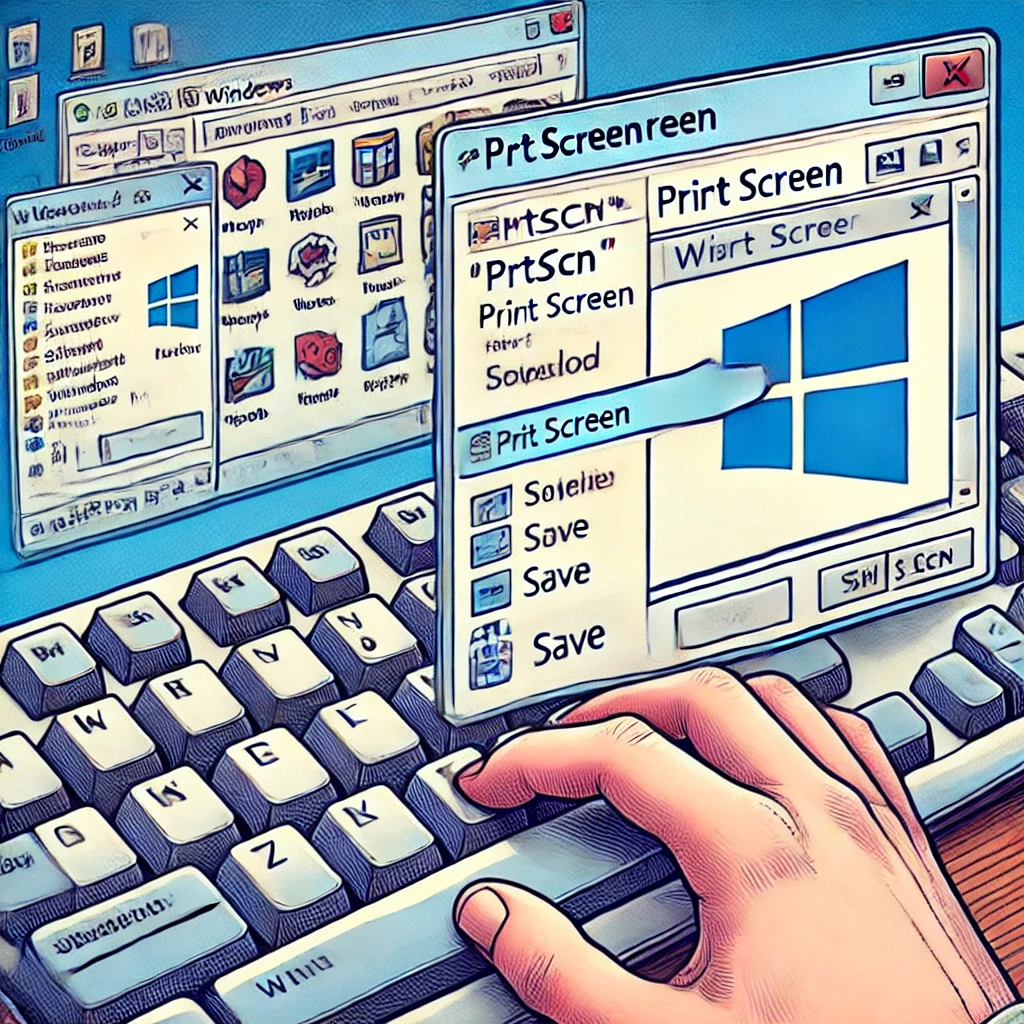
Instructions for Creating Screenshots on a Windows Desktop
Objective: Learn how to take screenshots on a Windows desktop and save them for future use.
- Using the Print Screen (PrtScn) Key
Step 1: Locate the “Print Screen” (PrtScn) key on your keyboard. It’s usually found at the top row, near the “F12” key.
Step 2: Press the “PrtScn” key. This will capture the entire screen.
Step 3: Open an image editing program like Microsoft Paint.
To open Paint, type “Paint” in the search bar next to the Start menu and press “Enter.”
Step 4: Paste the screenshot into Paint by pressing “Ctrl + V” on your keyboard.
Step 5: Save your screenshot.
Click on “File” in the top-left corner of Paint.
Choose “Save As” and select a file format (e.g., JPEG, PNG).
Name your file and choose a location to save it.
Step 6: Click “Save.”
- Capturing a Specific Window
Step 1: Click on the window you want to capture to make it active.
Step 2: Press “Alt + PrtScn” on your keyboard. This will capture only the active window.
Step 3: Follow the same steps to paste, edit, and save your screenshot using Paint.
- Using the Snipping Tool
Step 1: Open the Snipping Tool.
Type “Snipping Tool” in the search bar next to the Start menu and press “Enter.”
Step 2: In the Snipping Tool, click on “New” to start a new screenshot.
Step 3: Select the area of the screen you want to capture by clicking and dragging your mouse.
Step 4: Once you release the mouse button, the screenshot will appear in the Snipping Tool.
Step 5: Save your screenshot by clicking on the “Save Snip” icon.
Choose a file format, name your file, and select a location to save it.
Step 6: Click “Save.”
- Using the Windows + Shift + S Shortcut
Step 1: Press “Windows Key + Shift + S” on your keyboard. Your screen will dim, and a small toolbar will appear at the top.
Step 2: Choose the type of snip you want (Rectangular, Freeform, Window, or Full-screen).
Step 3: Click and drag to select the area you want to capture.
Step 4: The screenshot will be copied to your clipboard.
Step 5: Open an image editing program like Microsoft Paint and press “Ctrl + V” to paste the screenshot.
Step 6: Save your screenshot by following the same steps mentioned earlier.
Tips:
Practice each method to become familiar with the different ways of capturing screenshots.
Remember to save your screenshots with clear file names to help you find them later.
Screenshots can be useful for creating tutorials, documenting errors, or sharing information visually.
This guide will help you capture screenshots on a Windows desktop efficiently.

